Getting bored with
the planning process and needing to get a bit more practical, I set to making
another bonnet for the Dame.
I had already
steamed this hat which was given to me by my mum.
Before steaming, a rather nifty trilby style;
This time I did
actually use a sewing machine and a needle...ok I did use the glue gun too but
that was for adding the decorations not the actual bonnet making.
To start with I made
a length of bias binding to trim the edge with once I had cut the bonnet. I didn't want to leave the cut hat too long
as the straw has a tendency to fall apart.
I then attached fabric to the inside of the bonnet with pins, this was
done before cutting. Once everything was
in place I cut the bottom piece of hat out (see the tutorial on where to cut) and
then attached the binding sewing it, and the lining, onto the edge of the
straw.
I was using a
leather needle on my sewing machine as I doubt a normal needle would have gone
through those layers of straw and fabric!
I then pleated a
long strip of another fabric and tucked this under the binding before sewing
the second side in place. If I was doing
this as a ‘normal’ bonnet I probably would have just sewn some ribbon on at
this point and it would have looked nice and pretty.
But it’s Dame Bonnet
time again so I grabbed a load of pink organza and smooshed it around the
bonnet, pinning it in place until I was pleased with the look. I then hand sewed this into place (yes I
sewed by hand!)
Once the ribbon ties
were attached there was only one thing left to do, heat up the glue gun and
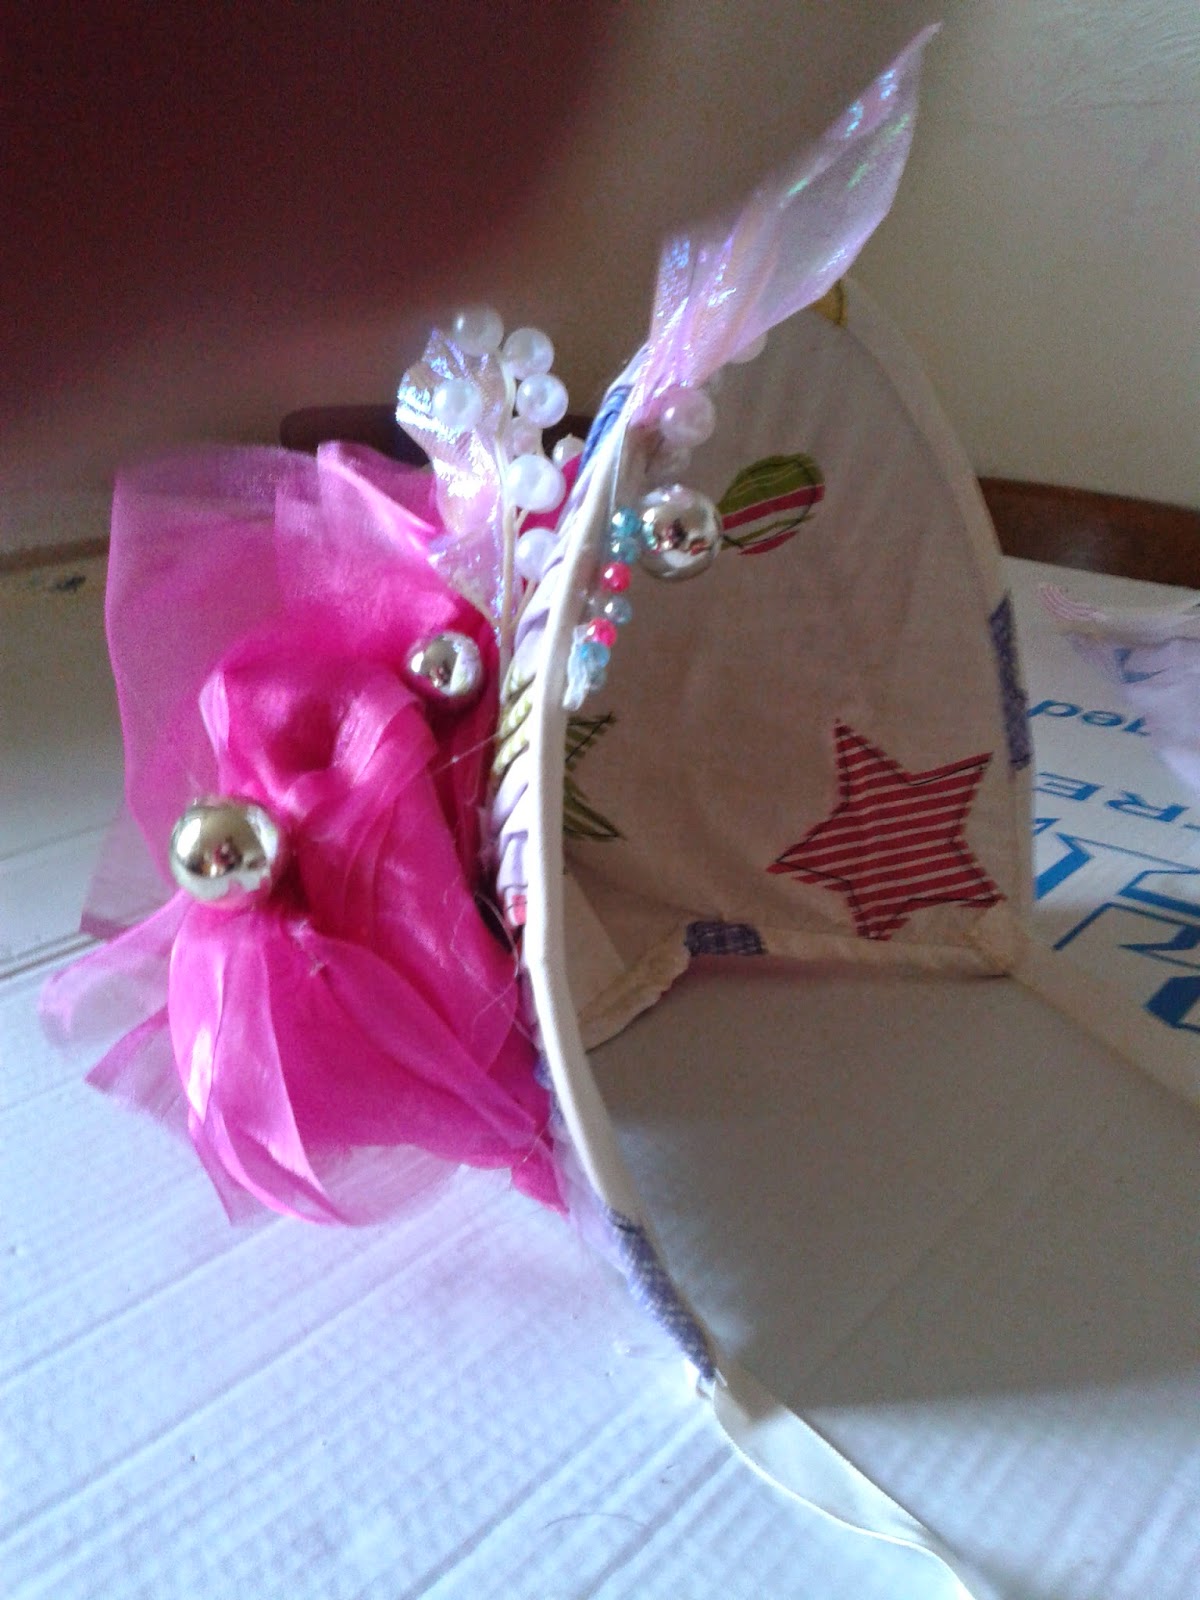
stick on the bits. One finished Dames
Bonnet:


No comments:
Post a Comment