Showing posts with label patchwork. Show all posts

Saturday, 7 March 2015

Goldfish have more fun

Well it may have taken a few weeks but I did manage my first quilt.  I don’t think I will be doing it again in a hurry even if it was just a cot quilt! 

I started off with the pinwheel patch being cut and rearranged that I had used on the cushion for my daughter.


It was during the process of repeating it 8 times that I began to lose the will to live.  I have the attention span of a goldfish and doing the same thing over and over did not keep the goldfish in me happy.  Having promised myself at least one finished quilt I persevered until they were all complete but they certainly were not as beautifully aligned in reality as they had been in my preplanning head.

I did have a bit of fun making the Scotty dog patch for the middle, but it was short lived.

I didn’t even take photos of the process as I desperately tried to finish it.  Layers of topping, batting and a plain blue backing were pinned together one night while my brain tried to answer the questions on ‘University Challenge’.  Then, of course, I planned to do some awesome quilting, but it turned into plain stitch in the ditch because it was quicker and more likely to be finished sometime this year.

The binding was applied in short bursts while I was upstairs for various reasons.  Then it was all finished and I looked at it completed and was suddenly filled with a sense of achievement!
It isn’t the best quilt in the world, I am well aware of that, but I finished it and it was delivered to pregnant mother before the birth so I did do as planned!

Just as the quilt was finished I moved on rapidly.  Did I move onto something less repetitive?
 
This is what I did….

Forty two x eight yard length x 9” wide strips of dress net for 3 poofy, 1950’s bridesmaids petticoats!  It took all day as I discovered that, even straight off the roll, all that dress net needs ironing before cutting!  Then I discovered that all the layers were too thick to use a rotary cutter and had to spend a few hours cutting it out with scissors that insisted on sticking to it at every opportunity.  Now it sits there staring at me, daring me to pull myself together enough to laboriously stitch it all together.


On the plus side, once the petticoats are made I get to play with the bridesmaids and wedding dress so it’s not all bad.

Sunday, 25 January 2015

Onwards and upwards

Now that I have learned the correct way to do a 9 patch block I started looking around the internet to see what I could do with it.  Youngest daughter had commented on the cushion cover that mother had stolen so I offered to make her one.  Now youngest daughter is on the quirky side so I knew I had to put a bit more effort in for her. 


It seemed straightforward enough, but went a step further than the basic 9 patch I had already completed. 

I pulled out some more fabric and cut some more squares and sewed them all together as the chipmunk on helium had told me to (ok, I admit, I did sew all three of the squares in each row at the same time, but it didn’t seem to have an adverse effect on the finished product.  If there is a reason for not doing it that way could you please let me know as I don’t want to be messing it up all over again).

The instructions on this site are easy to follow;  make a 9 patch block and then cut it into quarters horizontally and vertically, rearrange the quarters of the block, then sew it back together again.

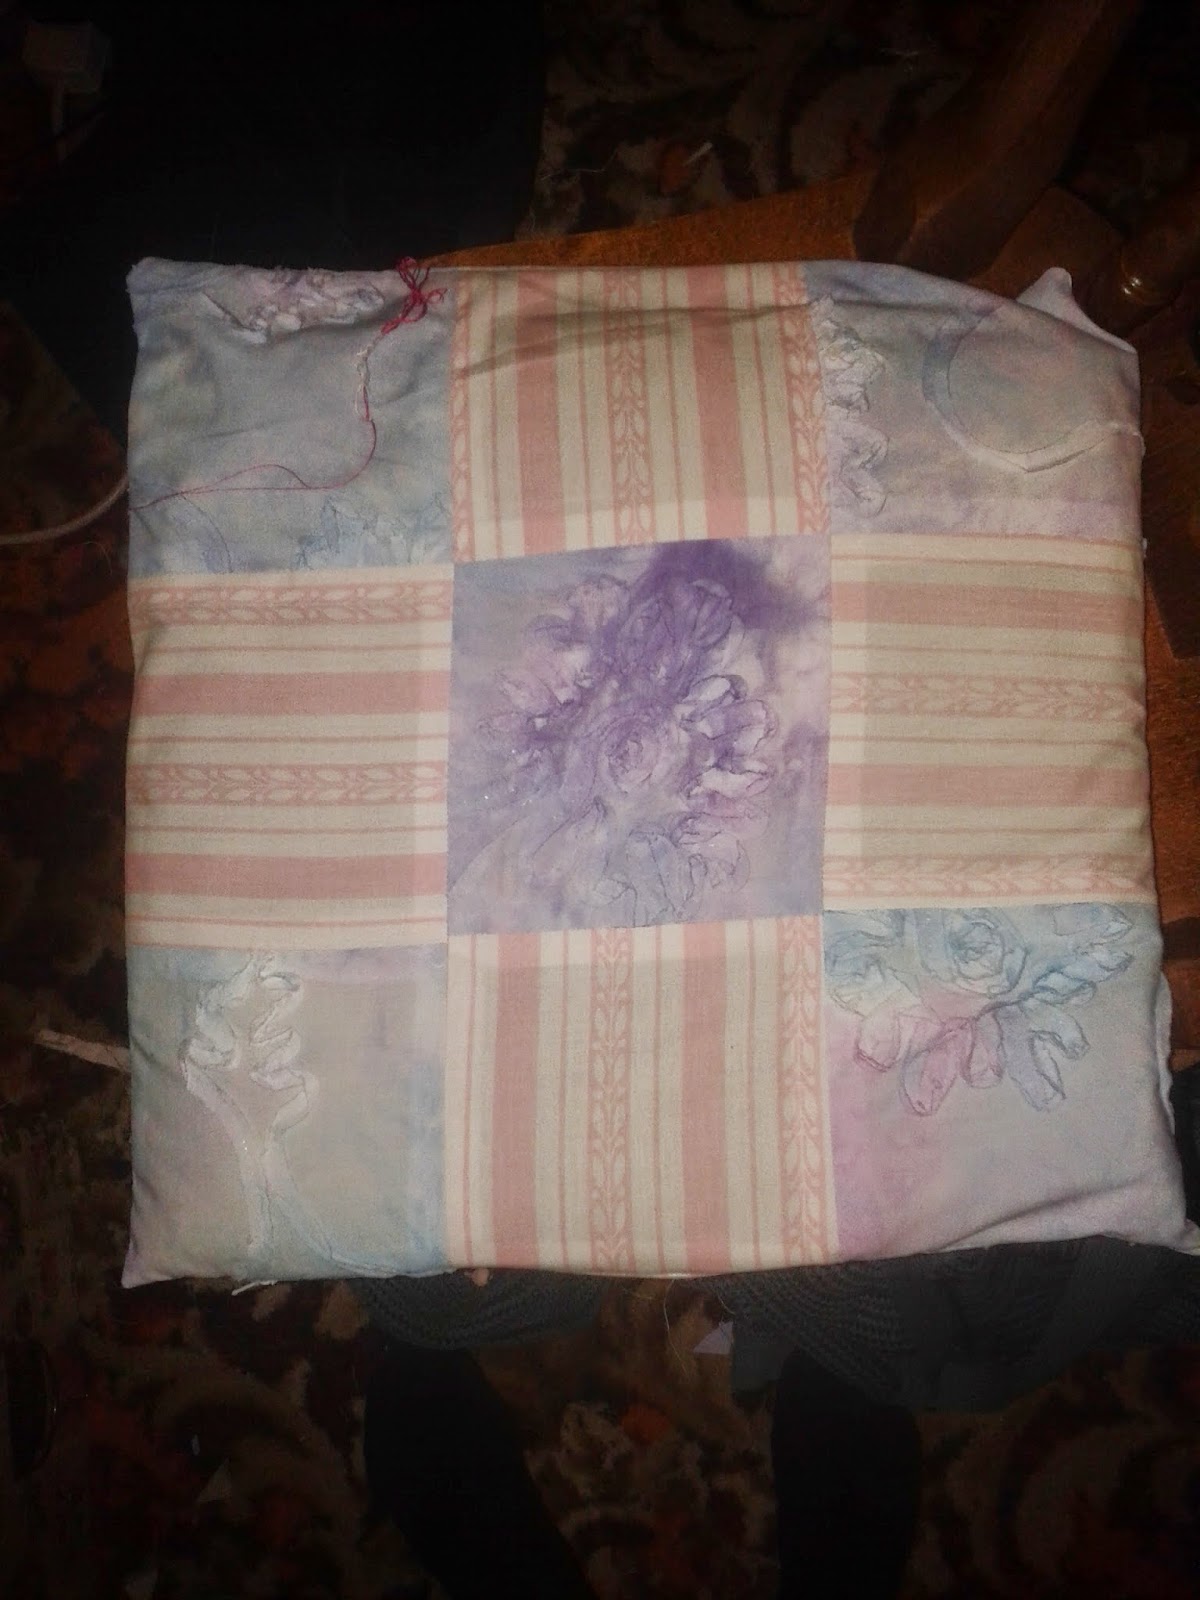
Here is the finished side of the cushion cover made for the quirky one.

Then I decided that there needed to be another side to this cover and started scouring the internet again.

It was then I noticed that one of the shopping channels on tv(Create and Craft) had quick tutorials on patchwork so I started watching it and was given another idea for a quick and easy challenge (I believe you can still see these tutorials on their website although I haven’t looked).  This time you make a pinwheel block that has finished measurements that are divisible by three (there are many good instructions on how to make one of those so I dont want to pick out just the one).

You then make cuts horizontally and vertically at thirds across the finished block.  This gives you 9 new squares.   You rearrange these squares, sew them together and end up with this;

I put a border around the pinwheel side, sewed it all up and had another finished cushion cover, this time one that daughter took home after I had taken a photo of both sides I am relieved to say.

Please don’t think for a second that I am saying patchwork is easy.  Both sides of this cushion cover were quick fixes using basic blocks that a far more experienced person would have made a far better job of. 

But what it does prove is that even a beginner in this craft can make a half decent patchwork cushion cover.  It also proves that a gung ho idiot like me can learn from some invaluable tutorials on the internet if they look around and pay attention, even if it is by listening to a chipmunk on helium.  If you have ever considered giving it a go then I wholeheartedly recommend it.


Next on my list is an Amish style quilt completely sewn by hand….ok, so I am lying, but I will certainly be having a go at a quilt next as I do believe I may have caught a new sewing bug.

Saturday, 24 January 2015

Lets start over and learn how to do patchwork properly!

Having accepted my own shortcomings, and recognising the need to seek out someone who knows what they are talking about in the patchwork/quilting department, my first step was to go to Craftsy and see if there was anything on there that was free.

I’m not a big fan of video tutorials.  I like reading how to do things then I can skim over the bits that aren't relevant.  Video tutorials are always so slow with their instructions and there are only so many times someone can tell me how to thread the needle on my machine before I find myself bashing my head against the nearest brick wall.  Its also harder to skim through as you find yourself going backwards and forwards trying to find the part you are looking for.

Therefore I have a distinct non-desire to spend any of my hard earned (and pretty dam non-existent at the moment) cash on a tutorial that I know I will skim through 90% of to find the 10% I need.

But many people love Craftsy tutorials for the same reason they send me insane and I am pretty sure those very same people would not now be constantly looking at the patchwork cushion they have made wondering why they didn’t  think about it a bit longer and maybe, just maybe, find out a bit more about it before they started!

For once it was my lucky day and there is a free tutorial that I quickly signed up to, spent the first ten minutes working out how to fast forward, hit the 2x button and realised that I could still understand what was being said at twice the normal speed, even if she did sound a bit like a chipmunk on helium.

Did I mention I was ill?  It was one of those good ill type things that mean you can still do things without it knocking you sideways.  I couldn’t go to work as I had no voice (I work in a school, no good if you can’t speak or hear properly), my glands had swollen up so much it had blocked one of my ears so I was voiceless and half deaf, but still able to watch the video and half hear the chipmunk talk by turning my head in the right direction and having it up on full volume. 

I sat and half watched the part of the video that talked about what thread I needed, what needle I needed (this came up again later in the how to quilt part of the tutorial, and I’m wondering if I should have paid more attention as to why I shouldn’t be using a 90/14 for the patchwork - because I am!) and how to thread my machine, I half watched the part of the video that talked about the fabrics I should use and then I half watched the part the video that talked about how to chop up your fabric into squares.

It was around this point that I realised why it was I had just sewn together 9 squares of fabric to make a cushion cover but, for once, I persevered with the tutorial.

Finally I found something that was relevant, laying out your squares.

Ok, done that.

Now pin the squares from column one and two together.  Check.

Now sew the 6 squares together with a ¼” seam keeping them attached with the thread saving technique.   Er ok, not sure why I have to keep them together, but I will, coz she said so (maybe I couldn’t understand the chipmunk on helium explanation of why I had to do it that way).  Then you cut them apart?  Ok Mrs Helium, doing as you say.


There was another bit about what foot to use to sew a ¼ “ seam.  The lady on the tutorial has a Bernina, I have a Bernina.  The lady on the tutorial says that I need to get a special foot to quilt with, it’s a Bernina no 37 and it is a ¼” foot.  I have a ¼” foot but it’s not a no 37 so I am slightly confused and wondering if my foot is a different ¼” foot to the one the lady is using, or is it because I am in a different country and Bernina give away the ¼” foot as an accessory in countries where quilting isn’t as popular and make money from selling it separately in countries where it is (that killed my chances of a lucrative Bernina blog deal didn't it)?

Then I have to press my sewn together squares, in different directions!  Ahah!  Different directions, to the side…..lightbulb moment!  Thank you Craftsy lady/chipmunk on helium, good point…..this lady must know what she is talking about so I keep watching.

Sew the third square in the row to the two you already have and press it in the same direction.

I’m not sure why I have to sew the third square after the first two but today I am doing as I am told.  Tomorrow it is likely I will sew all three squares together at once, but today I am not…patting myself on the back here!

Then you sew the rows together by first pinning the two ends together, then line up the seams and pin them in place.  The way the seams have been pressed in opposite directions mean you can get a really snug fit.

You sew together carefully by easing the squares so that they match at the seams.  Thank you Craftsy lady, you have now filled that gap in knowledge.  As I sew towards the seams I can hear chipmunk on helium telling me to ‘take the pin out’ and it brings a little smile to my face.

This is four squares sewn together after careful matching and taking the pin out just before the needle hits it.

This is four squares sewn together after careful matching and taking the pin out too early!  I unpicked it and did it again.


There is no picture of the 9 squares sewn together because my mum came round just as I finished making them into a cushion cover.  She liked it so much it went home with her and it was only after she left I realised I hadn’t taken a photo.  But I’m not stopping with just 9 patch; next stop is playing with this new knowledge.

Friday, 23 January 2015

Herein lies the tale of why you should look before you leap!


I often think of the saying ‘Jack of all trades, master of none’ when I am sewing.  I get too easily bored repeating the same thing over and over again to perfect one aspect of sewing so I tend to stick my nose into everything at some point.  My latest desire was to try out patchwork and quilting as it was one thing that I had managed to miss in the last 30 odd years I have been sewing and knitting.

As I was moving stuff up into my new sewing space I came across some bits of material I had been saving for just such a play!  Anything less than 1 metre is a ‘bit’ in my book, it is not quite enough to make something decent with as I don’t tend to make separates to wear.  It didn’t take long for the noticing of the ‘bits’ to turn into a ‘let’s play with my rotary cutter, mat and 6 inch square template as I haven’t used it yet’ session.

I stood there for over an hour cutting little squares out of the bits of fabric and placed them lovingly in one of my pretty new boxes and I felt quite impressed at my achievement until I realised that now I had cut them, I had to do something with them.

In my usual way I considered for all of about 30 seconds, then decided that it was only a matter of sewing 9 squares together for me to get half a cushion cover, sew 9 more together and I have the whole thing (ahhhh the naivety of it!).

So I sewed the squares together (am I sounding stupid now?) then sewed my bigger squares together and in went a zip and here is my cushion cover, my first ever attempt at patchwork.

I merrily trotted down the stairs to show hubby my feat of sewing, he admired it greatly and then told me how well all the squares matched up.

It was around about this time that I looked at it, I mean really looked at it.

Ummm, no, the squares don’t match up really well.

Ummm, maybe I should have spent a bit longer than 30 seconds thinking about this.

In fact, I am only still impressed with the fact that I did press all the seams while making it so at least I did that right.

I slouched back up the stairs and placed my (3 minutes ago work of art, now a bit ok but those squares don’t match ergh) cushion with its newly made cover on my sewing chair.  After all it is only going to see my backside isn’t it?


I then crept back downstairs and took a proper look at how to do it with my faithful laptop search.  I will let you know how I got on in my next post but for now I am just hoping I am not the only person who can so quickly throw themself into something while deep inside knowing it is a skill not a quick fix! Luckily I realised my error before moving onto the quilting, there is only so much shame a person can take you know.